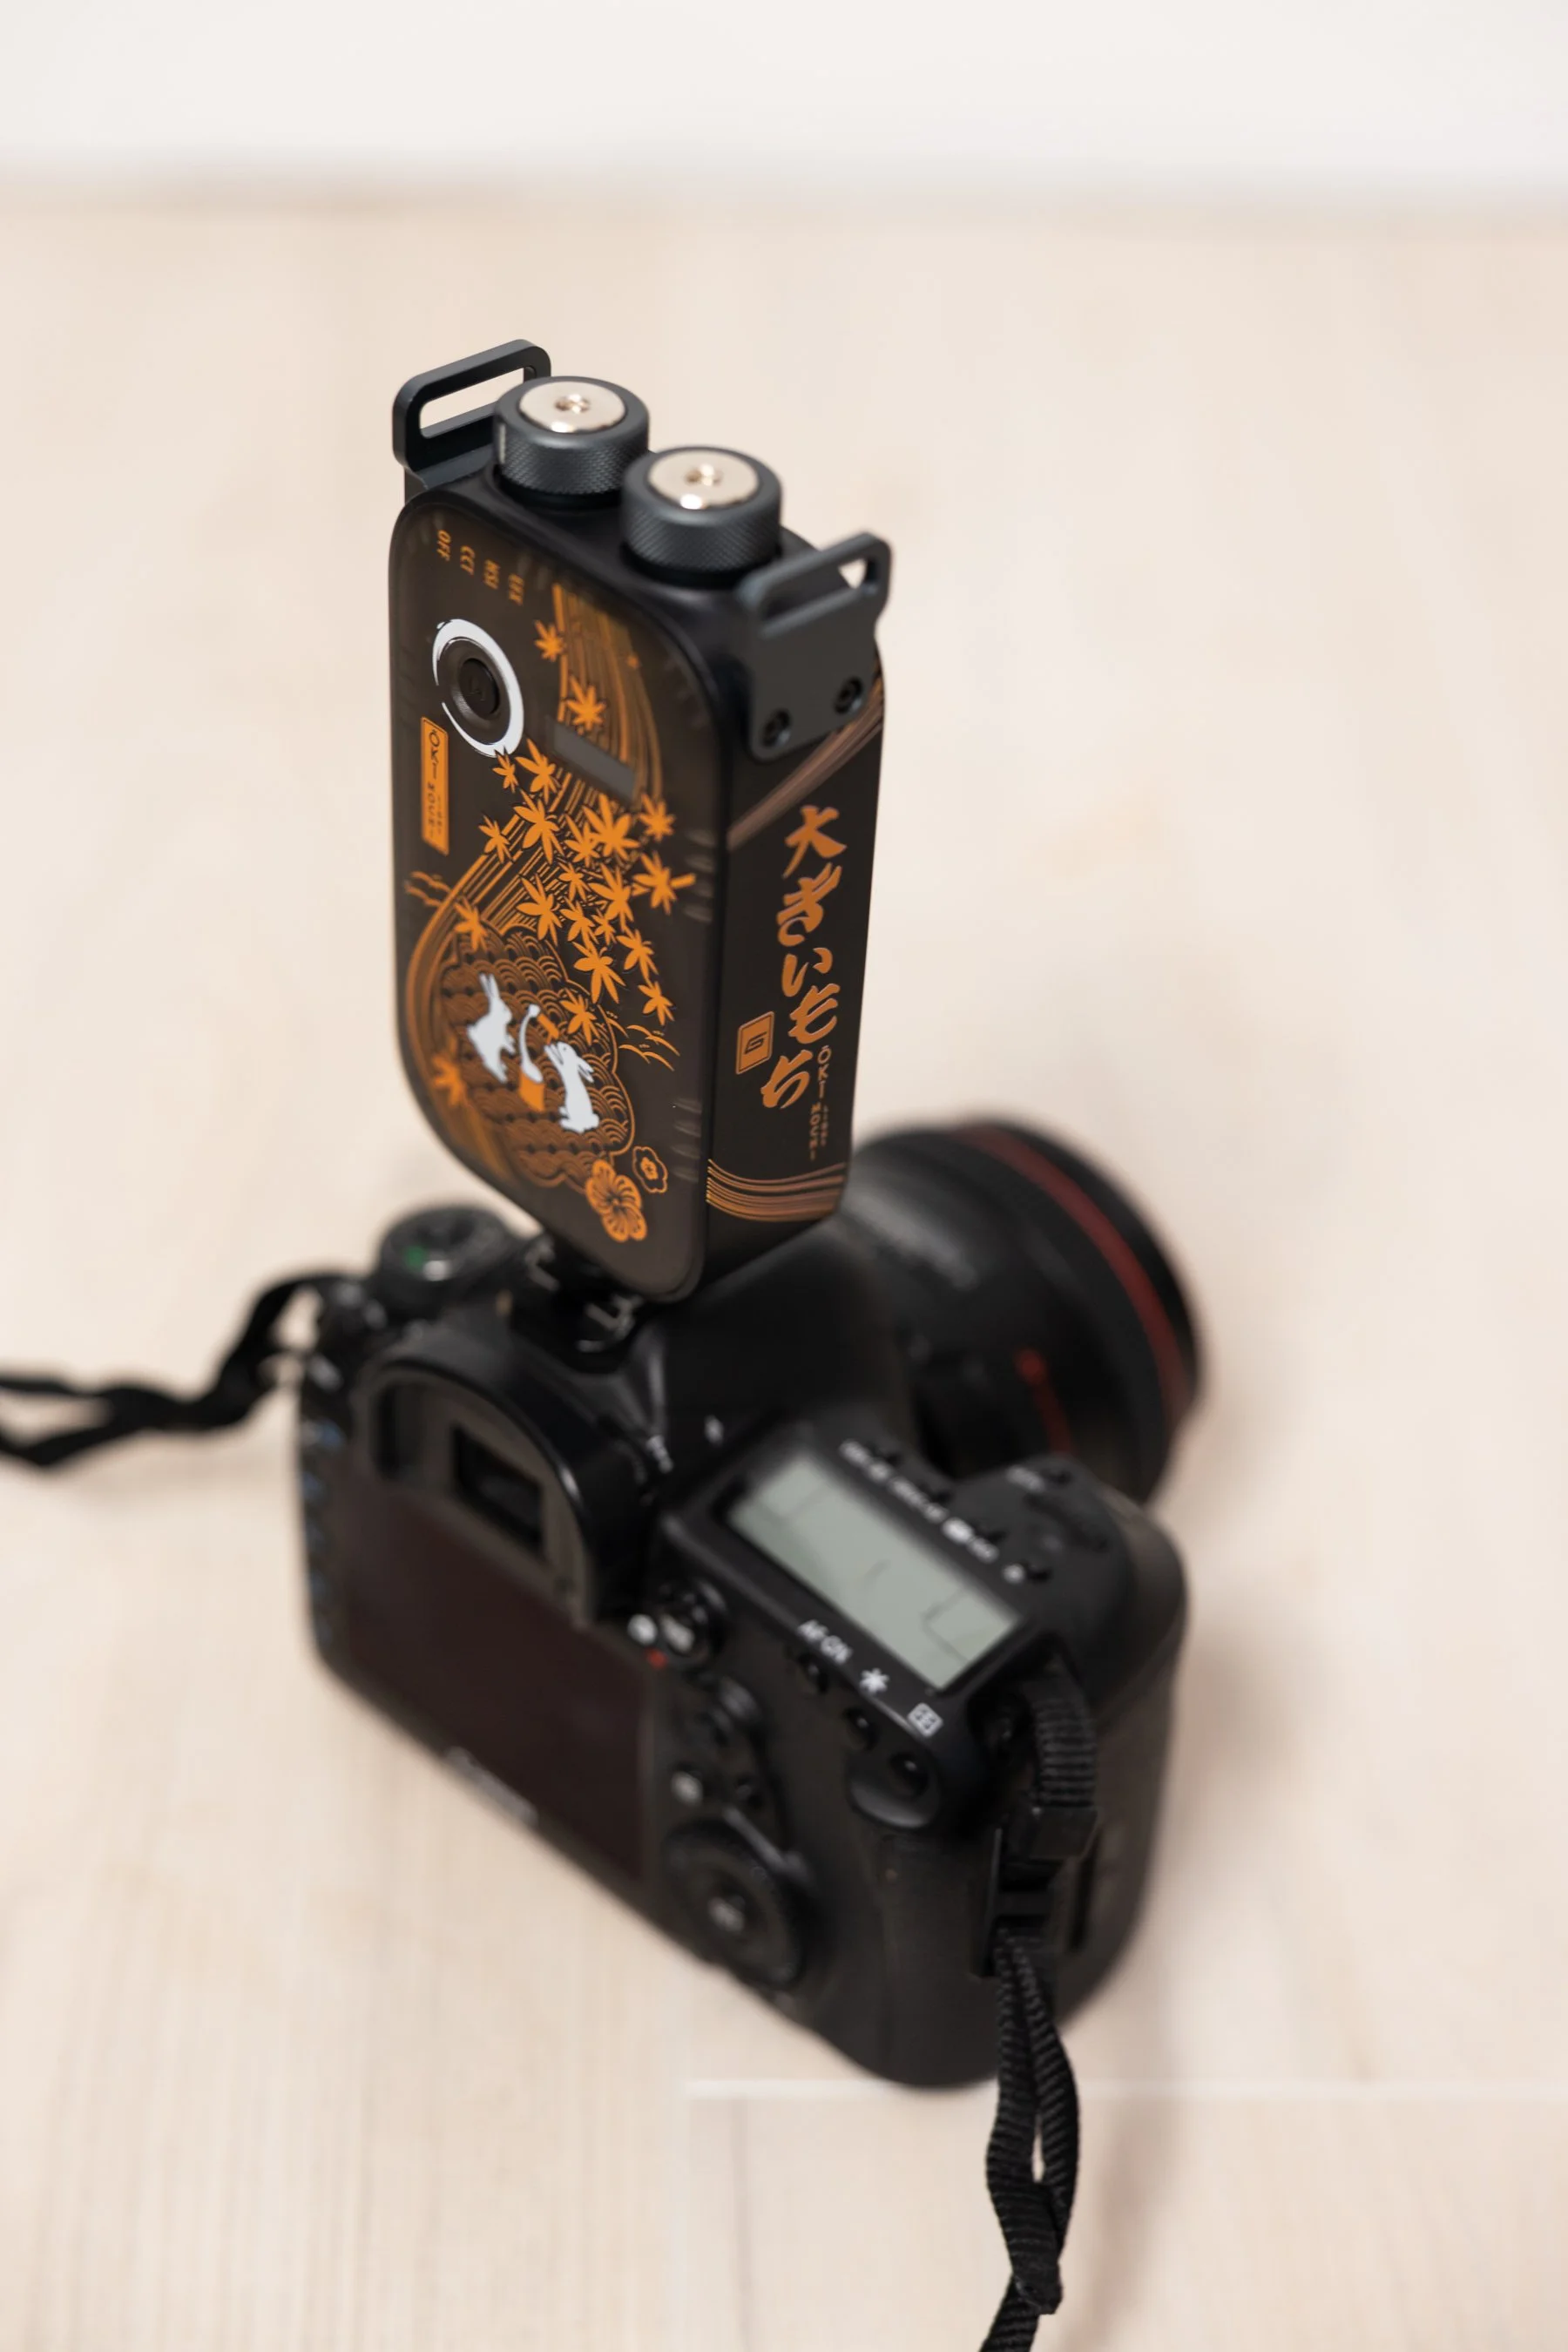
Lately, I’ve been working on downsizing my travel kit because I’m tired of lugging around hundreds of pounds of studio lighting equipment. I’m mostly a natural light photographer, but there are times when you just can’t control the weather and you’re forced to work with what you have. I tend to travel to Portland, Oregon a lot since I used to live there, and the rain just does not cooperate sometimes. It’s impossible to take my full studio kit with me across the country, so I’ve been doing tons of research to figure out how I can create the best miniature lighting kit that I can take with me everywhere. When I discovered the Genaray Oki Mochi Mini Light, I knew it had to be part of my kit. It’s so super tiny and cute, and it’s the perfect on-camera LED light for portraits. I also usually bring a Neewer 19” ring light with me too, but sometimes I just need a little boost of light for up-close portraits. The Oki Mochi light has endless color settings, so if you’re looking for something similar to gels, this is a great replacement. It also can do any standard color temperature from 2500 to 9900K and can be dimmed from 1-100%. It also comes with a diffuser so if you want the lighting to be softer, you have that option too. Plus, it just looks cute. It has a fun design on the back and sides, and just slides right into your hot shoe mount. I’ve had so much fun with it so far and I can see that it’s going to be a necessary addition to my lighting set-up from now on.


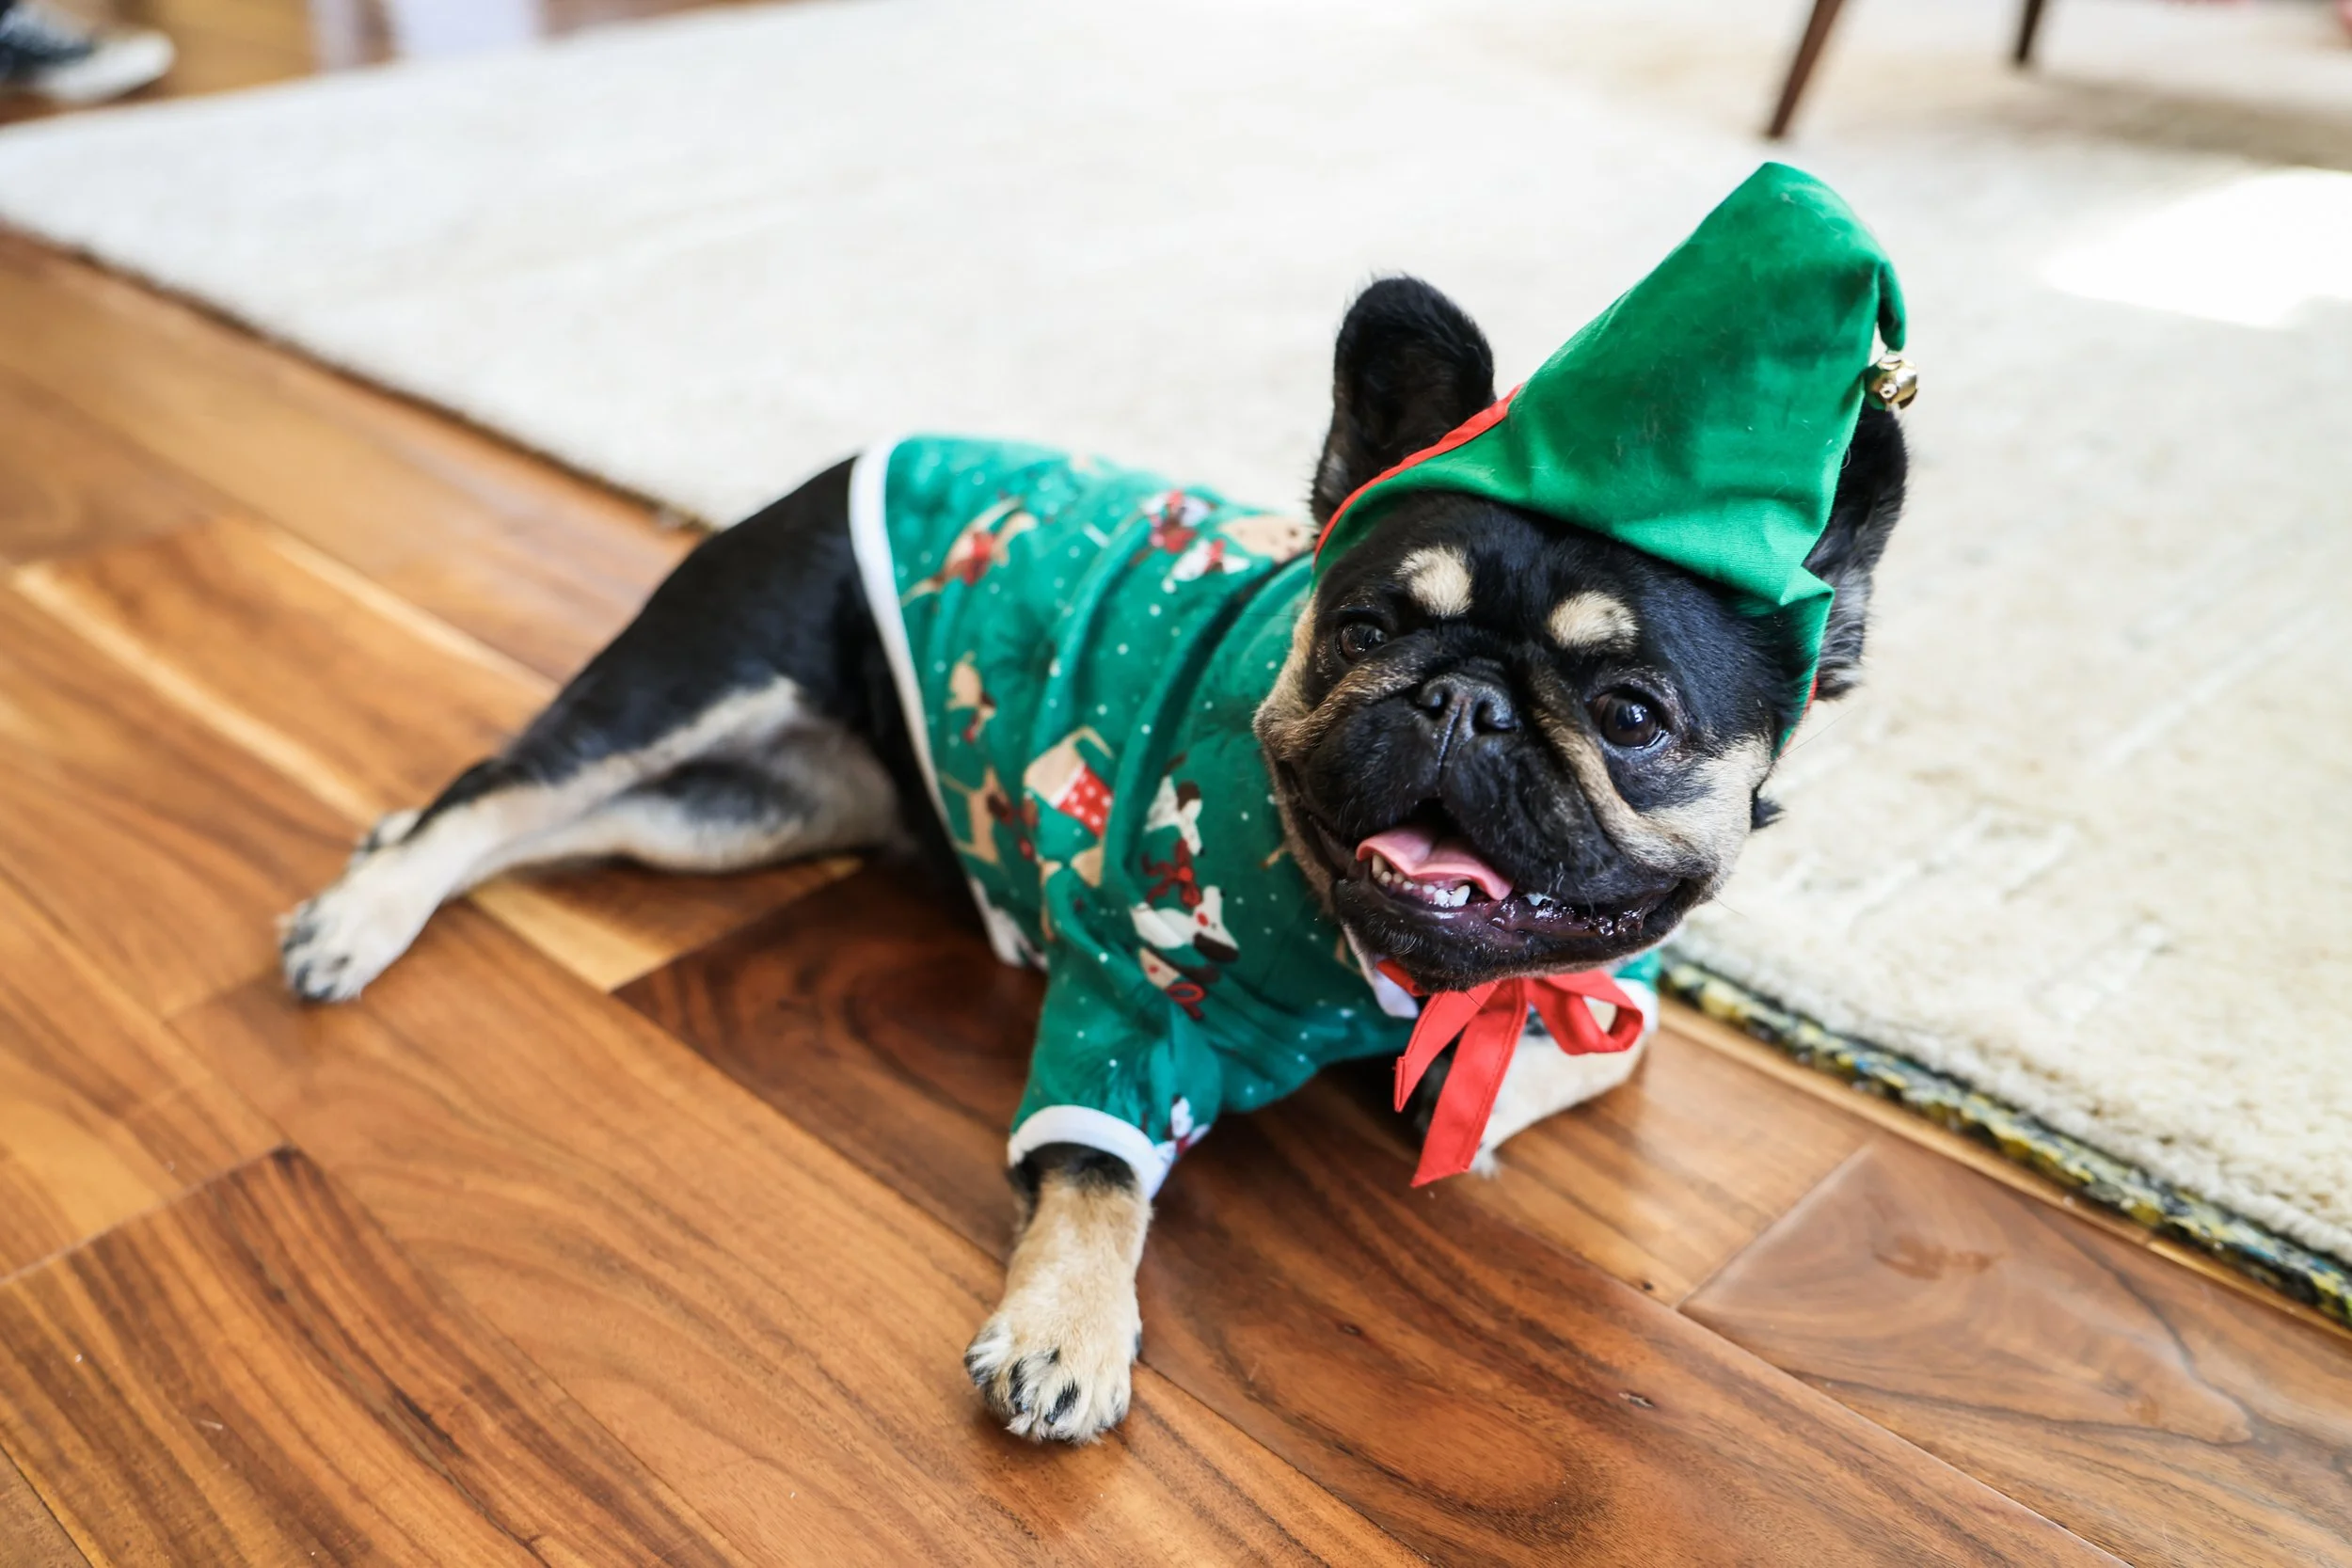
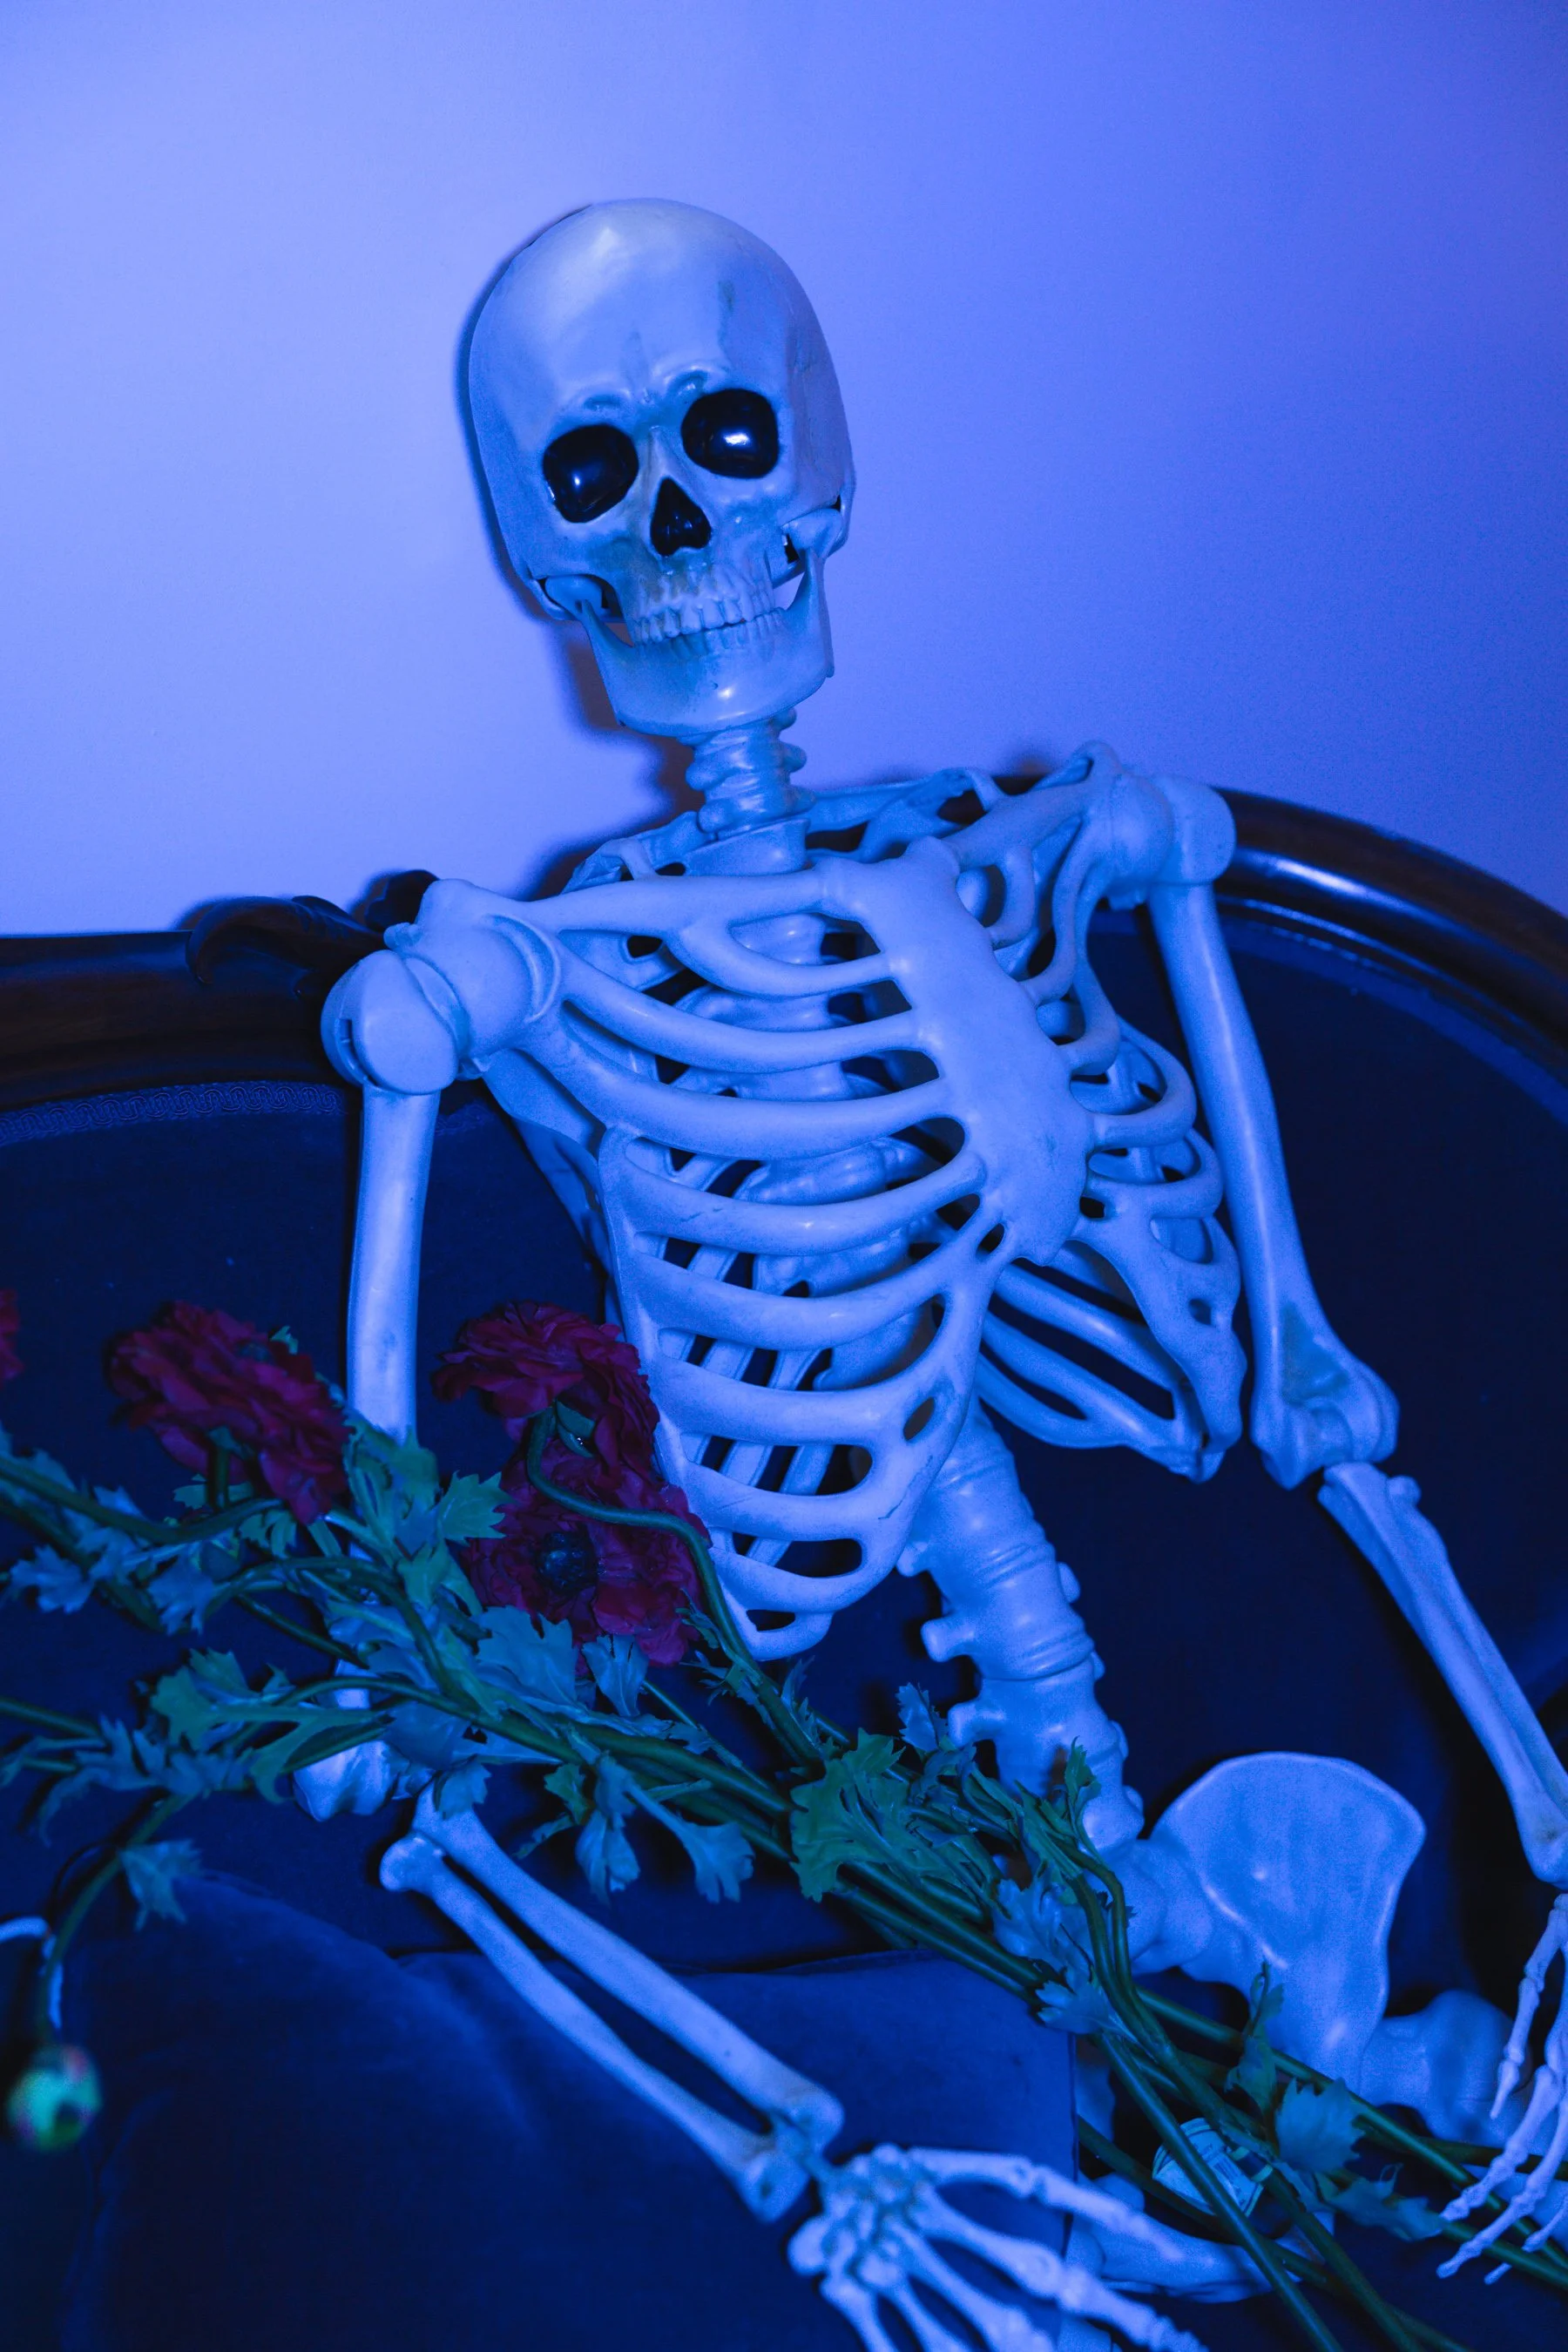
Honestly, there is so much packed into this tiny little light. The best part is that it’s on-camera so you’re not fiddling with a standalone light and moving it constantly. It goes with you wherever you go, and you can’t trip over it or knock it over. Obviously, it’s not a super large light, so it’s best for up-close portraits and probably no more than 1-2 subjects at a time. However, if you’re shooting in a somewhat dark environment, the Mochi light sort of acts as a spotlight and can create some really interesting portraits. It’s especially great for video too, if you’re constantly on the move with your subject and looking for more creative control. Since it’s continuous light, you can see what’s happening directly in front of you. I love strobe lighting too, but sometimes it’s nice to have something a little softer and easier to work with. A light like this is really fool-proof. You don’t have to know a lot about photography to be able to use this light. It will just immediately enhance your photos. I recommend using the diffuser so that your portraits are a bit more evenly lit, but that’s just me. :)

There are also a few fun features like various speeds of flashing lights, so if you’re wanting to imitate flickering candles, flashing police lights, or more of a party vibe, you can have lots of fun filming music videos and things like that. The battery lasts about 3 hours, which is typically enough time for a shoot. It’s also nice that it doesn’t need to be plugged in at all times like a standalone light. When I’m in the middle of a shoot, I tend to trip over anything that’s around so it’s truly safer for me to avoid cables at all time…


And of course, my favorite thing about it is it’s size. It is SO small and easy to travel with. It’s literally 5” x 2.5”. It doesn’t take up any space at all in my camera bag, and that’s honestly amazing for how much creativity you can get out of such a tiny little light. Needless to say, this light will be going with me on every single trip from now on. Not to mention, it’s incredibly affordable. I’m so used to spending hundreds of dollars on lights, but the Mochi light is only $50. A steal, if you ask me. It’s a great gift for beginner photographers, and a perfect addition to the traveling photographer’s camera bag. I love it, that’s all I have to say. It even exceeded my expectations. I thought there was no way a $50 light could actually keep up, but it’s exactly what I was looking for. A tiny, feature-packed light that can go with me anywhere. Love it.
WHERE TO BUY THE OKI MOCHI LIGHT
I’m more than happy to answer any questions you might have about the Oki Mochi light, and I definitely recommend trying it out! I’ll be adding more test photos to this post as I use the light more, but I hope this post helps you decide if this light is for you!
If you found this post helpful in any way, I’d love it if you considered signing up for my Patreon! For as little as $1 a month, you’ll get early access to all of my YouTube videos, plus tons of photos that I don’t post anywhere else. Depending on which tier you choose, you could also receive seasonal prints and/or discounts! I always use all of the proceeds towards cameras, film & processing.
If you have any questions, I’m always happy to help! You can contact me here, or leave a comment below! Thanks so much for stopping by! You can also check out my B&H Photo storefront & Amazon Storefront for more camera/film recommendations. :) Have a magical day!
<3 Myles Katherine
(By using the affiliate links and/or codes in this blog post it supports Myles Katherine Photography. We may get a small kick back by you doing so.)