120 Film on a Budget | 5 of my Favorite Affordable 120 Medium Format Film Rolls

This post contains affiliate links and I will be compensated if you make a purchase after clicking through my links. 

Shooting film is expensive. I’m not gonna lie, I spend most of my extra money on film. As a photographer though, I’m more than okay with that. There’s really nothing else in the world I’d rather spend my money on! But I can understand that if photography was just a hobby, it’s hard to justify spending so much money on film and processing. Especially if you’re interested in shooting medium format, the price-point goes up even higher because you’re paying just as much as 35mm, but for less images on a roll. Over the years, I’ve priced out dozens of film brands and I wanted to share the ones that I keep going back to time and time again. These 120 films are a great balance of quality and affordability. I’m extremely tight with my money ( I get it from my dad!) so I’m always on the lookout for a good deal. Keep in mind that it usually helps to buy in bulk too, since you’ll be saving on shipping costs. I also keep an eye out for sales, particularly during Black Friday/Cyber Monday weekend and other major holidays. But regardless of deals and discounts, these 5 different 120 films are typically available at a lower price that their competitors, and you still get great images!

Plus, there have been whispers of 120 film slowly dying, which is the saddest thing I’ve ever heard in my life. Medium format film is absolutely incredible and so so special. I’ll do everything I can to keep it alive, even if that means buying it all myself and spending my life savings on it! But maybe you guys and gals can help me out in saving 120 film by buying some yourself! Let’s save 120 film together! Please!

Anyway, here are 5 of my favorite affordable 120 medium format film brands!

1. KODAK GOLD 200

Kodak Gold 200 is surprisingly affordable for the quality that you get. I always bring a roll of it with me on every beach vacation or any time I want my images to have a golden tone. It’s super duper sharp too and has become one of the main 120 films that I use consistently. For a 200 speed film, it does decently well in low light and is perfectly saturated. I find to be one of the easiest films to tweak during scanning too, so I’m able to alter it and adjust the tones if I decide to make my images a little cooler or warmer. I scan all of my film myself with a Epson Perfection v750 scanner so I have a lot more control than if my film lab scanned it for me. I love this film and as long as it stays this affordable, I’ll always have it in my camera bag! I have this feeling that Kodak may raise the price in the future so I’d grab it while you can!

WHERE TO BUY

Amazon

Adorama

(click to enlarge images)

2. LOMOGRAPHY COLOR 100 OR 400

Lomography Color 120 films comes in two different film speeds, 100 and 400. I typically have both of these in my arsenal because it’s super saturated and fun! I find it to be bright and colorful, which is very helpful when shooting with cameras like a Holga or Diana F+. Toy cameras always benefit from a little extra color and sharpness. The 100 speed film is going to be a bit sharper, but just remember that you’ll need more light. I recommend only shooting the 100 speed film in bright sunlight or with a bright flash. The 400 speed film is more versatile and better for cloudy days or lower light. If you’re going to be in a dark environment and really need some leeway, they also have an 800 ISO film. I don’t typically go for 800 speed films because it’s just a bit too grainy for me. I shoot with a lot of toy cameras and I’m already fighting to make those images as sharp as possible so the extra grain doesn’t tend to help! You’ll notice there isn’t a huge difference in the 100 and 400 ISO films, so I included samples of both below.

WHERE TO BUY

LOMOGRAPHY COLOR 100 120 FILM

eBay

KEH Camera

LOMOGRAPHY COLOR 400 120 FILM

Amazon

Adorama


(click to enlarge images)

3. LOMOGRAPHY LOMOCHROME METROPOLIS 100-400

Lomography Lomochrome Metropolis is more of a funky, unusual film that might be fun if you’re looking for something different! It’s known for it’s slightly desaturated look and strong contrast. I love that it has a vintage vibe to it that works well with toy cameras. I’ve only used this film a few times so far but I’m excited to try it with some of my other medium format cameras. It has an extended ISO range of 100-400 so you can work with this film in lots of different kinds of conditions to experience different results!

WHERE TO BUY

eBay

Adorama

4. LOMOGRAPHY LADY GREY BLACK & WHITE FILM

I had to throw in a few black and white films because that’s what I truly love the most! I don’t shoot black and white as often anymore because I like to have the option of color and black and white. I can always turn my color photos black and white in post-processing, but it doesn’t work the other way around! I find Lady Grey to be very retro and aged-looking, which I think is perfect for a black and white film. It has quite a bit of graininess to it, but I don’t mind grain as much with black and white photography. It adds character and emotion, in my opinion!

WHERE TO BUY

Amazon

eBay

(click to enlarge images)

5. LOMOGRAPHY BLACK AND WHITE POTSDAM KINO B&W 120 ISO 100

Potsdam Kino 100 is another black and white film by Lomography, and this one has more of an overall grey tone in the highlights, causing it to seem more muted. I find it to have more of a cinematic quality to it though, which is so beautiful and dreamy! I found it just a little harder to get that stark contrast and those extra deep blacks than with the Lady Grey film.

WHERE TO BUY

Adorama

eBay

(click to enlarge images)

If you found this post helpful or if you’d like to see more of my work, I’d love it if you considered signing up for my Patreon! For as little as $1 a month, you’ll get early access to all of my YouTube videos, plus tons of photos that I don’t post anywhere else. Depending on which tier you choose, you could also receive seasonal prints and/or discounts! I always use all of the proceeds towards cameras, film & processing. Find out more here!

If you have any questions, I’m always happy to help! You can contact me here, or leave a comment below! I’d love to know what your favorite 120 films are! Thanks so much for stopping by! You can also check out my Amazon storefront for more camera/film recommendations. :) Have a lovely day!

<3 Myles Katherine

Kodak Duaflex 620 Camera Review with Sample Photos in Portugal | How to Use a 620 Film Camera and Where to Buy Film

(By using the links and/or codes below it supports Myles Katherine Photography. We may get a small kick back by you doing so.)

The Kodak Duaflex is so CUTE. It’s one of those cameras that deserves to be displayed on a shelf and is a definite conversation-starter. It is a 620 medium format camera, originally produced in 1947 with continued production into the early 1960s. It’s a Twin-Lens Reflex camera, meaning it works off of two lenses — one for the viewfinder and one for taking the photograph. One of the key features of the Kodak Duaflex is the waist-level viewfinder, so you look down into the top of the camera to take a photograph. This type of camera takes some getting used to, but once you get the hang of it, it’s such a fun and unique experience. Plus, it just feels good to reconnect with the old-school style of photography.

To be honest, I have no idea where my Kodak Duaflex came from. As a photographer for over a decade, I’ve become the friend and family member that everyone donates their cameras to, but I’m more than okay with that! My collection is constantly growing and it allows me to bring different cameras with me on every trip I take!

For my recent trip to Portugal, I grabbed the Kodak Duaflex off my shelf, tested the shutter, made sure I could open it up to put film in, and then tossed it in my suitcase! I had never used this camera before, so it was a bit of a risk hauling it all the way to Portugal. But at this point, I’ve realized these old, vintage cameras are surprisingly resilient. The more simple the camera, the longer they seem to last without issues. As long as the shutter works, you’re pretty much golden!

I’m so excited that my first roll of film actually turned out! I wanted to share a few of the pros and cons that I’ve experienced so far with this camera, and if you’d like to see how my photographs turned out, you can check out my YouTube video about the Kodak Duaflex, or you can scroll down to the bottom of this post!

PROS

I know how intimidating these cameras can be because of their age. They almost seem foreign to us because of how used to the digital age we are. But what’s hilarious about that is that these cameras are SO BASIC. They are about as simple as you can get. They are essentially a box with a hole in it. There are absolutely no settings other than the “I” or the “B” mode, which stands for “instantaneous” and “bulb”. The Instantaneous mode is about 1/30th of a second shutter speed, and the Bulb mode is for as long as you hold the shutter open. The Bulb mode is typically used for low-light situations or for capturing light trails and things of that nature. For this type of camera, I mostly stick to the “I” mode because the 1/30th of a second is slow enough for me! Personally, the simplicity of this camera is definitely a pro for me. There are no complicated settings or confusing buttons.

Another pro of this camera is the affordability. You can find them for about $15-35 on eBay or KEH Camera, or you might just happen to stumble across one in a thrift store if you’re lucky! They also tend to be in relatively good condition for their age because there is no battery compartment or anything for corrosion to occur.

I’m also pleasantly surprised by the sharpness of this camera! Not too long ago, I reviewed the Kodak Brownie Hawkeye. While I loved the images, they weren’t as sharp as I’d hoped they’d be. But I think my lens was also a little foggy. My images from the Kodak Duaflex though, were crisp and stunning! I truly couldn’t believe it. Especially with such a slow shutter speed. I was expecting them to be blurry and show some motion. It is definitely important to stand as still as possible when shooting with this camera though to avoid shaking the camera!

CONS

One of the main disadvantages of this camera is that 620 film isn’t produced anymore. However, you can purchase any 120 film, a few old 620 film spools and roll it onto the 620 film spool yourself! The film is the same size but the spools are different. If you don’t want to take the risk though, you can also purchase pre-spooled 620 film from the Film Photography Project. They have a really fun starter pack that I purchased, which contained the Kodak 100 TMAX black and white film that I used for my first roll of film with the Duaflex.

The slow shutter speed (1/30th of a second) can be a bit of a pain to work with. It’s nearly impossible to stand still enough for a crystal clear photo, but I literally just hold my breath as I take the photo to avoid motion blur! I will also set the camera on a hard surface and push the shutter gently, which also helps with steadiness. There’s also a tripod socket on the bottom of the camera if you just don’t trust yourself!

Another thing I noticed from this first roll of film is that the focusing distance is quite large. Apparently it is about 3 feet to infinity, which is much further than the majority of my cameras. So I was a little surprised by the portraits we took. In the moment. I felt that it was far enough away that it would be in focus, but when I got the images back, you’ll see that your subject has to be pretty far away for them to be in focus. This isn’t a huge deal and I don’t really mind it, but it will take some time to get used to that!

FINAL THOUGHTS

I’m so incredibly happy that I took this camera with me to Portugal. I know I’ll treasure these photos forever. The first roll of film with each of my cameras is very special to me because I’m truly just having fun trying to figure out if the camera even works. It’s an experiment that keeps me interested in photography. And getting my film back from the lab is always such an exciting day! I’ll definitely be taking this camera with me on future trips, especially if we’re comparing it to the Kodak Brownie Hawkeye. This camera is much sharper and I’m just thrilled with the images. I want to try out more multiple exposures and portraits with it in the future, too. Now that I’m aware of the focusing distance, I’ll be able to get a bit more creative.

If you found this post helpful or if you’d like to see more of my work, I’d love it if you considered signing up for my Patreon! For as little as $1 a month, you’ll get early access to all of my YouTube videos, plus tons of photos that I don’t post anywhere else. Depending on which tier you choose, you could also receive seasonal prints and/or discounts! I always use all of the proceeds towards cameras, film & processing. Find out more here!

If you have any questions, I’m always happy to help! You can contact me here, or leave a comment below! I’d love to know your thoughts on the Kodak Duaflex! Thanks so much for stopping by! You can also check out my Amazon storefront for more camera/film recommendations. :) Have a lovely day!


WHERE TO BUY THE KODAK DUAFLEX CAMERA:

Amazon

eBay

KEH Camera


FILM I USED:

Kodak TMAX 100 by the Film Photography Project


620 take-up spools if you want to spool your 120 film onto a 620 spool yourself:

Amazon


120 film I recommend if you’re pre-spooling yourself:

Kodak 100 TMax 120 Film (what I used for the images below)

Kodak Portra 160 120 Film

Fujifilm Neopan Acros 100 120 Film

Lomography Color 400 120 Film


<3 Myles Katherine


(click to enlarge images)


Minolta Hi-Matic AF2 35 mm Film Camera Review with Example Photos in Nazaré, Portugal | The Perfect Point-and-Shoot Camera for Traveling

(By using the links and/or codes below it supports Myles Katherine Photography. We may get a small kick back by you doing so.)

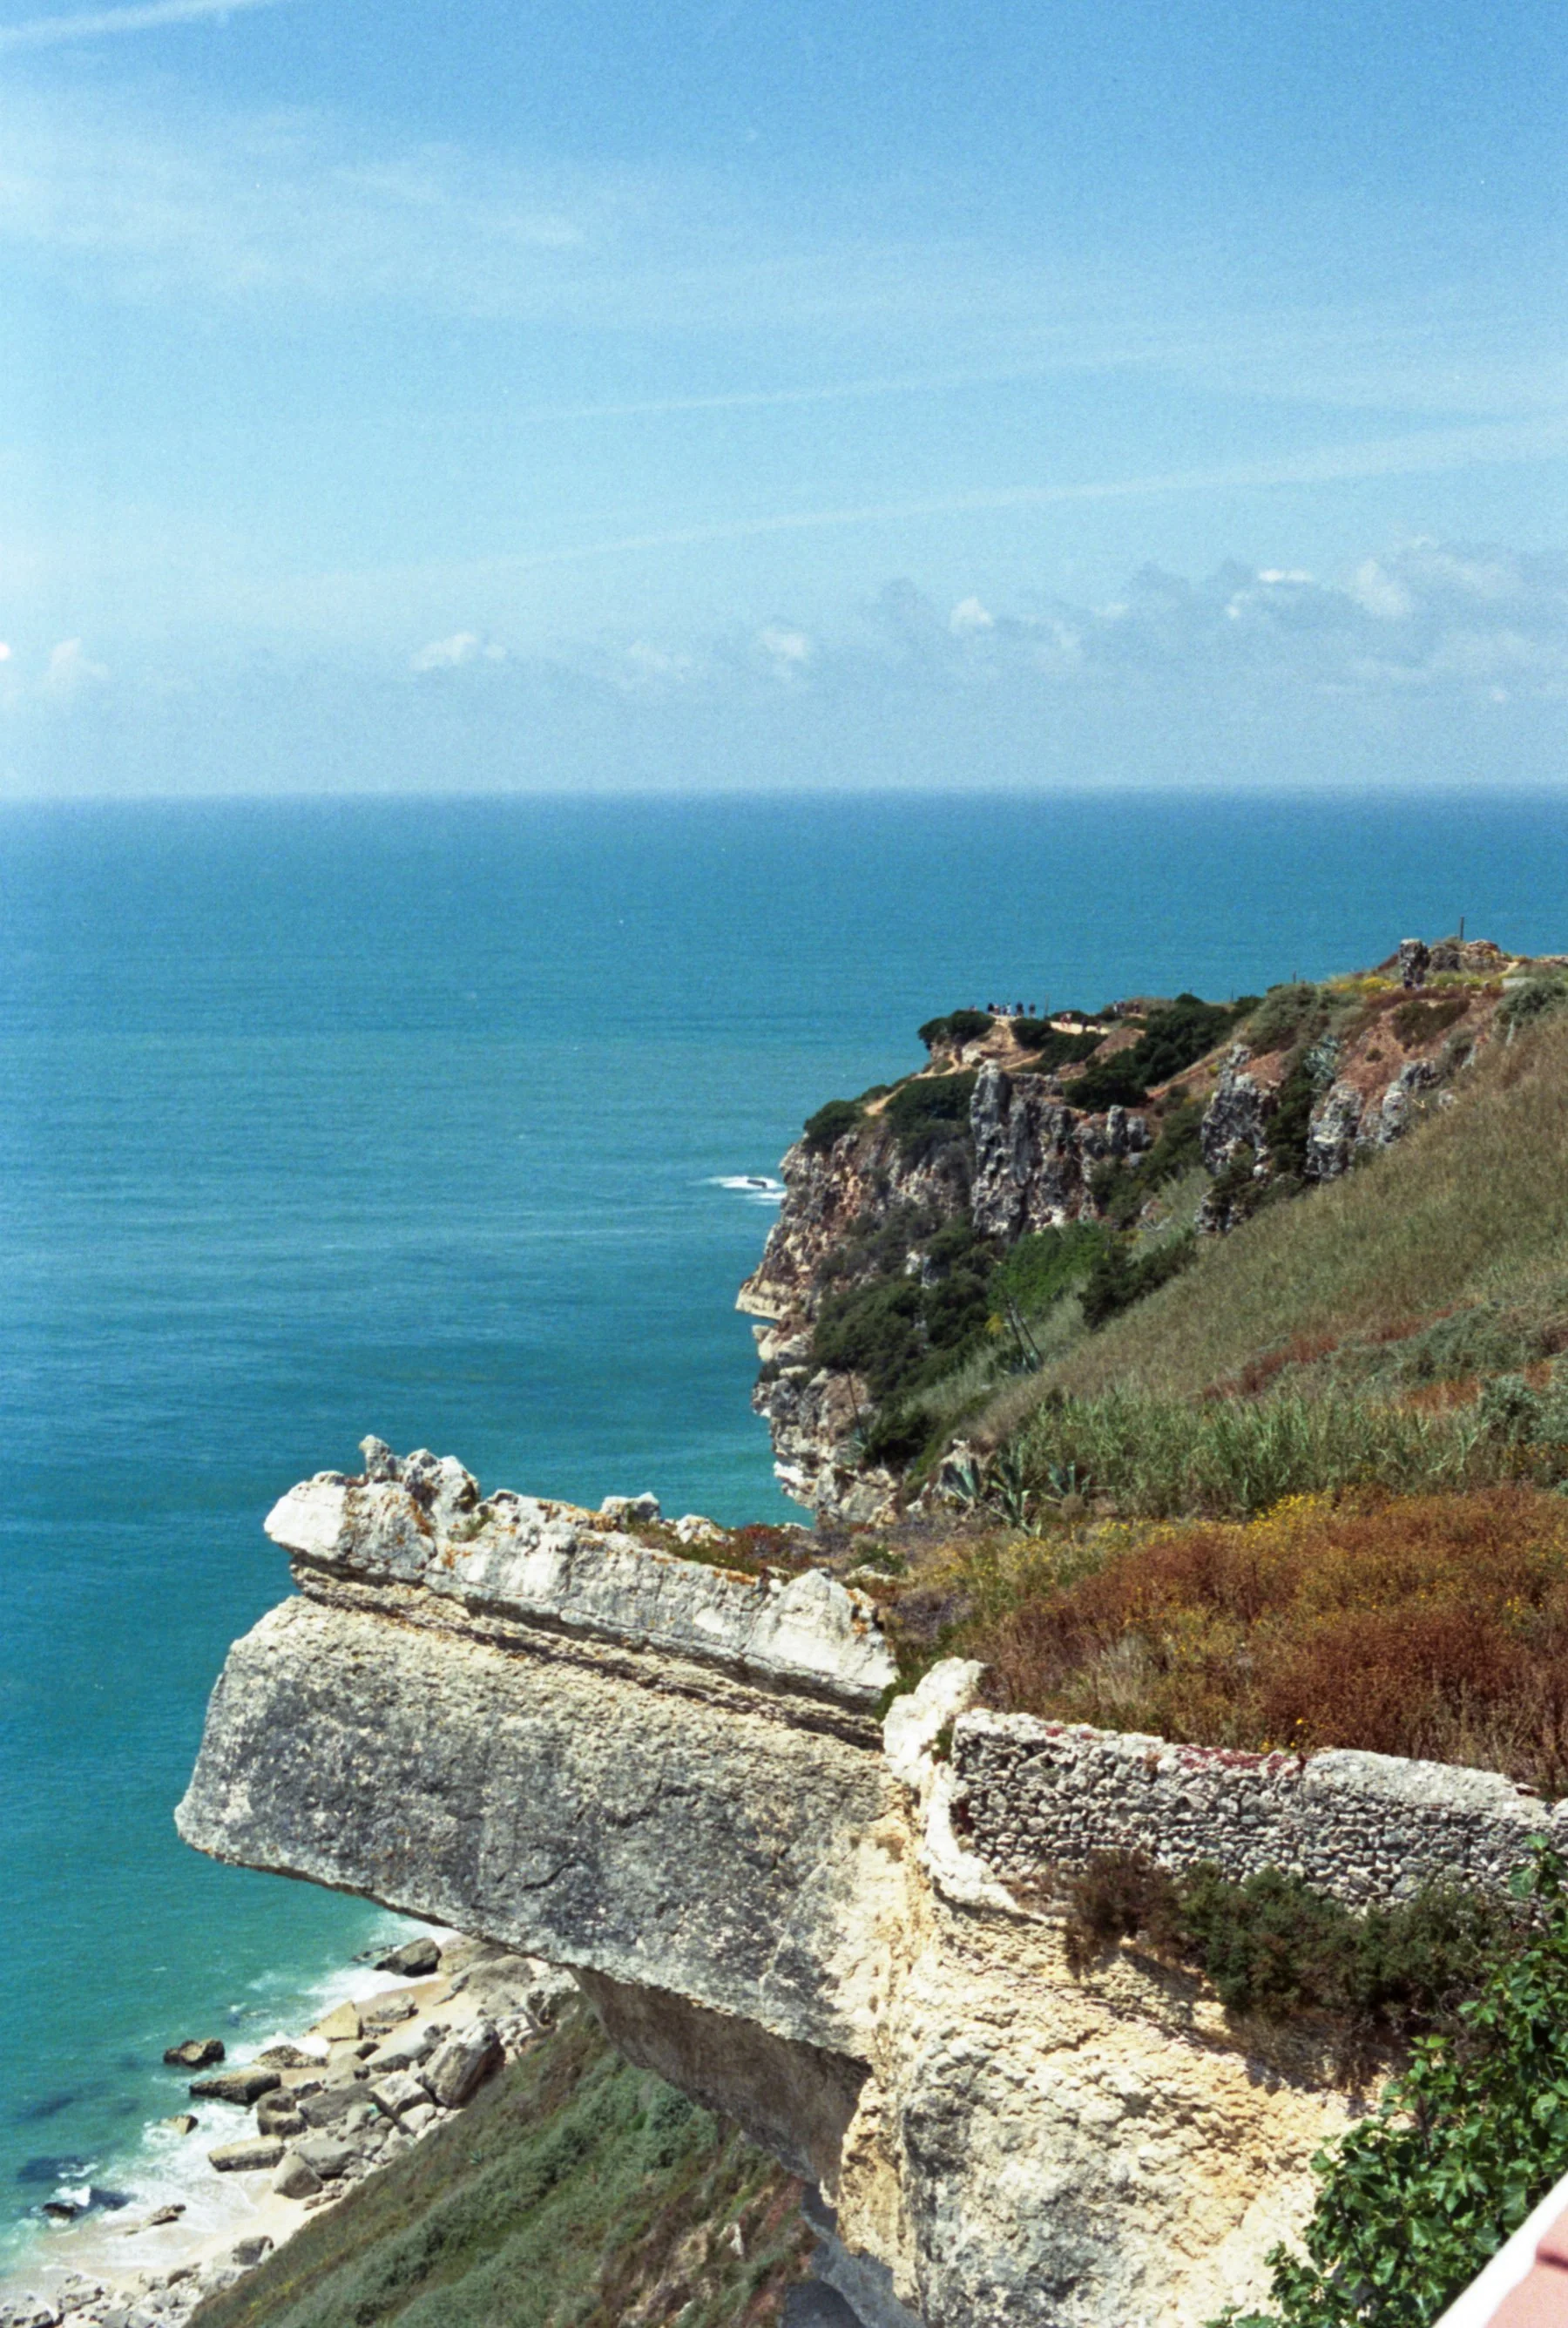
Before my trip to Portugal, I pulled together all of the cameras in my house (I think I’m getting close to 100 cameras in my collection now!) and dug through them to find a camera I hadn’t used yet. I always like to take at least one camera on my trips that is a bit of a mystery, just to challenge myself and to get inspired. It’s so exciting to send my film off for processing when I get home, but its especially exciting when it’s a camera I’ve never used before. As I was digging through my boxes of cameras, I came across the Minolta Hi-Matic AF2 and noticed that it had a 2.8 lens on it. I was immediately interested. Any lens with an aperture of 2.8 or wider is a camera I’m interested in.

However, right away I noticed that it wasn’t working. I opened the battery compartment only to find some serious corrosion. I spent the day with a pile of q-tips and rubbing alcohol, scraping off as much corrosion as possible. Eventually, I began to hear the camera make high-pitched sounds when I put some fresh batteries in and I knew I was getting somewhere. The shutter still wasn’t working but for some reason, whenever I flipped the camera upside down, the shutter would go off. I still don’t know why that worked, but the more I clicked the shutter release button, the more it started firing. Finally, I felt convinced that it was working enough to trust it with a roll of film.

I was still super nervous the whole time I was shooting with it in Portugal because I didn’t have time to run through a test roll before my trip. But the shutter seemed quick enough to know that I was at least getting something. I was pleasantly surprised when I got my film back from the lab in the mail. My photos had turned out! I still have some learning to do with this camera, and unfortunately, I haven’t been able to get the flash to work still. I think it might be a bit of a lost cause. But I’m just thrilled that my photos turned out at all! And I truly enjoyed using it throughout the trip. I wanted to share a few of the reasons why I love this camera so far and then share all of my favorite photos from Portugal! I also just posted a video about the Minolta Hi-Matic AF2 on my YouTube channel so make sure to check it out and subscribe to see more of our Portugal adventures!

5 REASONS WHY THE MINOLTA HI-MATIC AF2 IS A PERFECT TRAVEL CAMERA

  1. It’s a Point-and-Shoot Camera

    You can’t really get more convenient than a point-and-shoot camera for traveling. They are quick and easy with little to no learning curve. Anyone can use this camera. If you’re a beginner film photographer, this camera is absolutely perfect for you.

  2. It has a 38mm Lens

    In my opinion, a lens that’s anywhere from 24-40mm is a great length for travel photography. You’re able to get wide shots of buildings and architecture, but you could also get a little closer in for a portrait.

  3. It’s Compact and Basic

    Since the lens is a fixed length, it doesn’t take up a ton of space in your bag like a camera with a detachable lens would. It’s super sturdy with no extra parts or awkward accessories. And since it includes a flash, you don’t need to add one of those on either. I’m super sad my flash doesn’t work, but maybe I’ll come across a Hi-Matic AF2 with a working flash one of these days. :)

  4. It’s Fully AutoFocus

    When I’m traveling, it’s hard to work with manual focus film cameras. Sometimes I just don’t have the time to stand there and try to get the focus perfected. My family members are rushing me along, impatient with all of my picture-taking. Or I’m trying to get a photo of a bicyclist or moving subject while they aren’t paying attention. AutoFocus cameras like the Hi-Matic AF2 make street photography so much easier. And especially since it’s relatively small, it’s pretty inconspicuous and makes it easier to get away with taking pictures of strangers.

  5. It Takes 35mm Film

    The great thing about 35mm film cameras is that it’s easy to find 35mm film in almost every city. Sometimes, when I’m shooting with my 120 cameras, I’ll run out of film and have a hard time finding a camera store that carries 120 film. But 35mm is a pretty universal film format. I’ve never had trouble finding extra 35mm film on my trips.

As you can tell, I’m loving the camera so far. I’m a little bummed because I had the ISO setting on 400 instead of 200 for one of my film rolls, so the images turned out a little grainier than I’d hoped. But the film stock I used, Harman Phoenix 200, is also known for it’s grainy and high-contrast look, so maybe it’s just a combo of the film stock and ISO setting that I’m not used to. But I know a lot of film photographers actually aim for that sort of look so I guess it just depends on the person! I usually tend to like my photos a little less grainy and more sharp. But to each their own!

Here are a few film brands I recommend using for 35mm film cameras. Or you can check out my blog post, The Best Color Film for 35 mm Cameras. You can also check out my Amazon storefront for more camera/film recommendations. :)

35MM FILM RECOMMENDATIONS:

Kodak Gold 200

Lomography Color 400

Lomography Color 100

Kodak Portra 160

Kodak Portra 400

Kodak Colorplus 200


WHERE TO BUY THE MINOLTA HI-MATIC AF2:

Amazon

KEH Camera


FILM I USED FOR THE SAMPLE PHOTOS:

Kodak UltraMax 400 35mm film:

Amazon

Adorama

Harman Phoenix 200 35mm film:

Amazon

Adorama

If you enjoyed reading this post and would like to support my work, check out my Patreon and get early access to my YouTube videos, plus seasonal prints and other fun gifts!

And of course, I wanted to share all of my favorite photos from our Portugal trip using the Minolta Hi-Matic AF2!

Thanks so much for stopping by! Have a lovely day!

<3 Myles Katherine


(click to enlarge)