Minolta Hi-Matic AF2 35 mm Film Camera Review with Example Photos in Nazaré, Portugal | The Perfect Point-and-Shoot Camera for Traveling

(By using the links and/or codes below it supports Myles Katherine Photography. We may get a small kick back by you doing so.)

Before my trip to Portugal, I pulled together all of the cameras in my house (I think I’m getting close to 100 cameras in my collection now!) and dug through them to find a camera I hadn’t used yet. I always like to take at least one camera on my trips that is a bit of a mystery, just to challenge myself and to get inspired. It’s so exciting to send my film off for processing when I get home, but its especially exciting when it’s a camera I’ve never used before. As I was digging through my boxes of cameras, I came across the Minolta Hi-Matic AF2 and noticed that it had a 2.8 lens on it. I was immediately interested. Any lens with an aperture of 2.8 or wider is a camera I’m interested in.

However, right away I noticed that it wasn’t working. I opened the battery compartment only to find some serious corrosion. I spent the day with a pile of q-tips and rubbing alcohol, scraping off as much corrosion as possible. Eventually, I began to hear the camera make high-pitched sounds when I put some fresh batteries in and I knew I was getting somewhere. The shutter still wasn’t working but for some reason, whenever I flipped the camera upside down, the shutter would go off. I still don’t know why that worked, but the more I clicked the shutter release button, the more it started firing. Finally, I felt convinced that it was working enough to trust it with a roll of film.

I was still super nervous the whole time I was shooting with it in Portugal because I didn’t have time to run through a test roll before my trip. But the shutter seemed quick enough to know that I was at least getting something. I was pleasantly surprised when I got my film back from the lab in the mail. My photos had turned out! I still have some learning to do with this camera, and unfortunately, I haven’t been able to get the flash to work still. I think it might be a bit of a lost cause. But I’m just thrilled that my photos turned out at all! And I truly enjoyed using it throughout the trip. I wanted to share a few of the reasons why I love this camera so far and then share all of my favorite photos from Portugal! I also just posted a video about the Minolta Hi-Matic AF2 on my YouTube channel so make sure to check it out and subscribe to see more of our Portugal adventures!

5 REASONS WHY THE MINOLTA HI-MATIC AF2 IS A PERFECT TRAVEL CAMERA

  1. It’s a Point-and-Shoot Camera

    You can’t really get more convenient than a point-and-shoot camera for traveling. They are quick and easy with little to no learning curve. Anyone can use this camera. If you’re a beginner film photographer, this camera is absolutely perfect for you.

  2. It has a 38mm Lens

    In my opinion, a lens that’s anywhere from 24-40mm is a great length for travel photography. You’re able to get wide shots of buildings and architecture, but you could also get a little closer in for a portrait.

  3. It’s Compact and Basic

    Since the lens is a fixed length, it doesn’t take up a ton of space in your bag like a camera with a detachable lens would. It’s super sturdy with no extra parts or awkward accessories. And since it includes a flash, you don’t need to add one of those on either. I’m super sad my flash doesn’t work, but maybe I’ll come across a Hi-Matic AF2 with a working flash one of these days. :)

  4. It’s Fully AutoFocus

    When I’m traveling, it’s hard to work with manual focus film cameras. Sometimes I just don’t have the time to stand there and try to get the focus perfected. My family members are rushing me along, impatient with all of my picture-taking. Or I’m trying to get a photo of a bicyclist or moving subject while they aren’t paying attention. AutoFocus cameras like the Hi-Matic AF2 make street photography so much easier. And especially since it’s relatively small, it’s pretty inconspicuous and makes it easier to get away with taking pictures of strangers.

  5. It Takes 35mm Film

    The great thing about 35mm film cameras is that it’s easy to find 35mm film in almost every city. Sometimes, when I’m shooting with my 120 cameras, I’ll run out of film and have a hard time finding a camera store that carries 120 film. But 35mm is a pretty universal film format. I’ve never had trouble finding extra 35mm film on my trips.

As you can tell, I’m loving the camera so far. I’m a little bummed because I had the ISO setting on 400 instead of 200 for one of my film rolls, so the images turned out a little grainier than I’d hoped. But the film stock I used, Harman Phoenix 200, is also known for it’s grainy and high-contrast look, so maybe it’s just a combo of the film stock and ISO setting that I’m not used to. But I know a lot of film photographers actually aim for that sort of look so I guess it just depends on the person! I usually tend to like my photos a little less grainy and more sharp. But to each their own!

Here are a few film brands I recommend using for 35mm film cameras. Or you can check out my blog post, The Best Color Film for 35 mm Cameras. You can also check out my Amazon storefront for more camera/film recommendations. :)

35MM FILM RECOMMENDATIONS:

Kodak Gold 200

Lomography Color 400

Lomography Color 100

Kodak Portra 160

Kodak Portra 400

Kodak Colorplus 200


WHERE TO BUY THE MINOLTA HI-MATIC AF2:

Amazon

KEH Camera


FILM I USED FOR THE SAMPLE PHOTOS:

Kodak UltraMax 400 35mm film:

Amazon

Adorama

Harman Phoenix 200 35mm film:

Amazon

Adorama

If you enjoyed reading this post and would like to support my work, check out my Patreon and get early access to my YouTube videos, plus seasonal prints and other fun gifts!

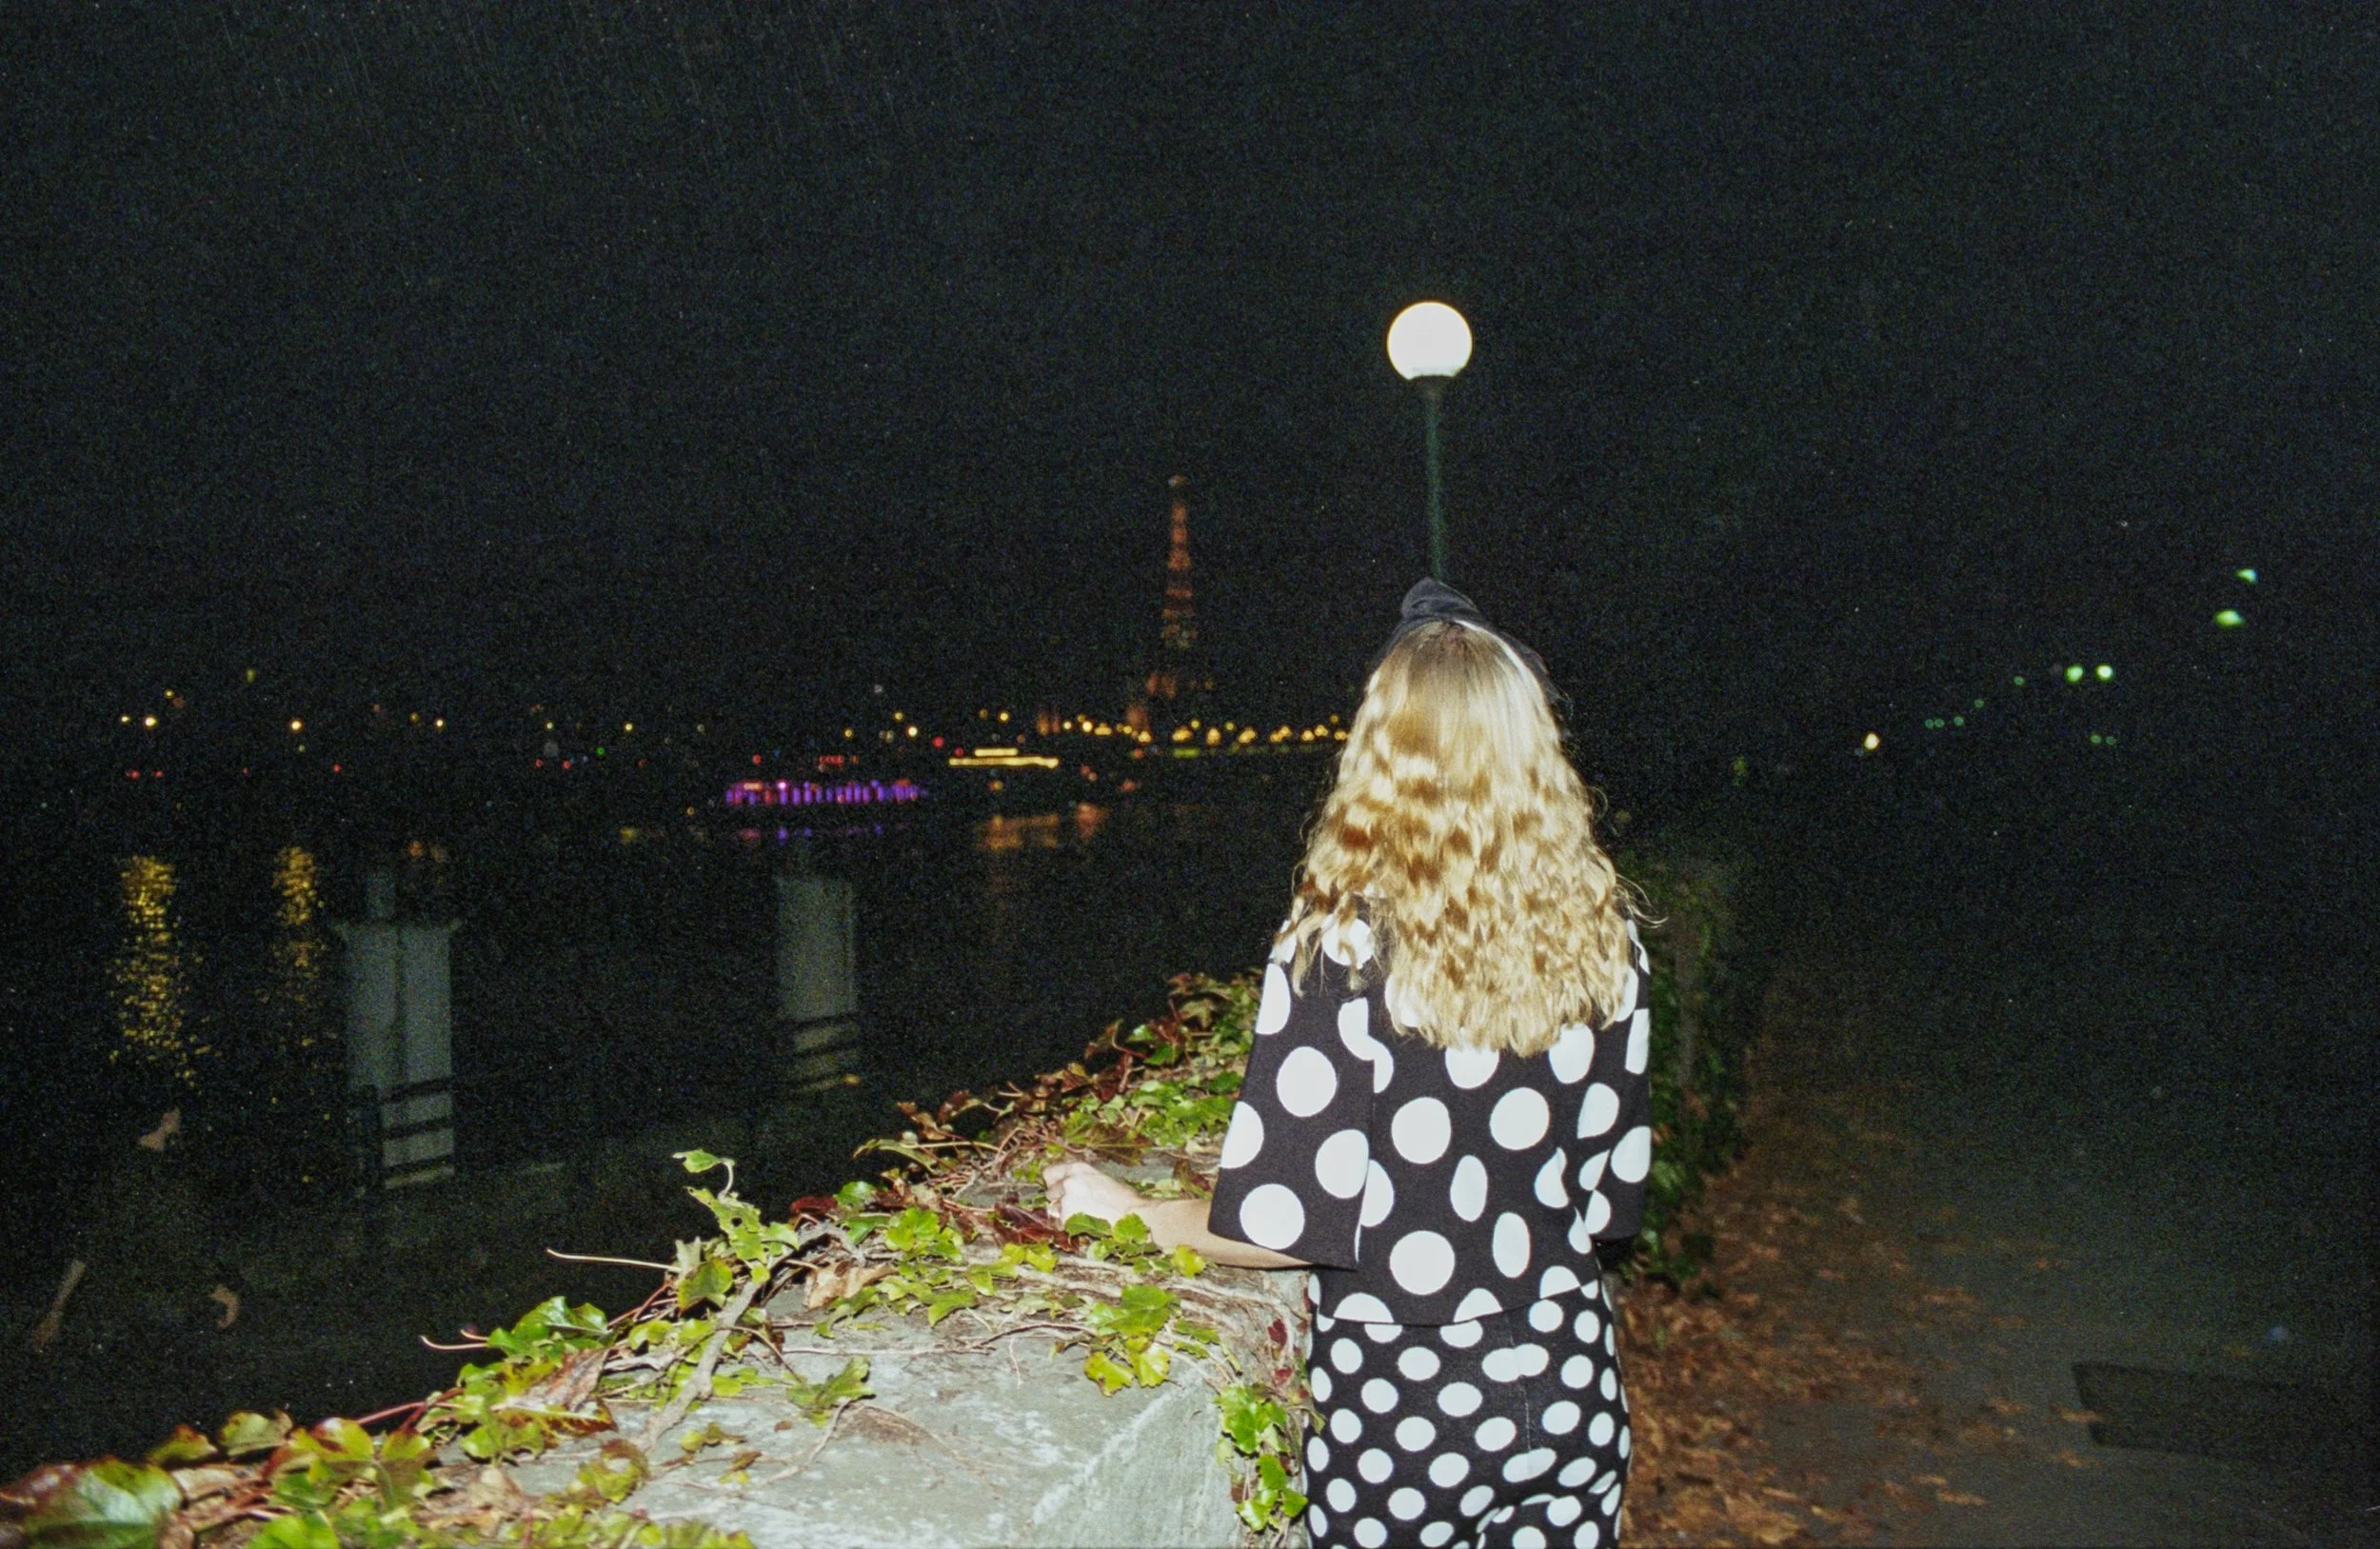
And of course, I wanted to share all of my favorite photos from our Portugal trip using the Minolta Hi-Matic AF2!

Thanks so much for stopping by! Have a lovely day!

<3 Myles Katherine


(click to enlarge)


Kodak Gold 200 35mm Review with Sample Photos | My Favorite 35 mm Film to Use with a LomoApparat

(By using the links and/or codes below it supports Myles Katherine Photography. We may get a small kick back by you doing so.)

Kodak Gold 200 has been growing on me. I used to prefer more cool-toned film, but lately I’ve been craving warmth, sunshine and summertime. I always make sure to take Kodak Gold 200 with me now on any beach/island vacation. It just has that magical sunshine glow that makes everything look like golden hour. It’s also super duper affordable! Lately, it’s actually one of the cheapest films you can buy! It’s kind of amazing because I find it to be super sharp and reliable too. Any time that a friend or family member asks me what film stock I recommend, I always include Kodak Gold in my list. It’s a great film for beginners too because it’s surprisingly forgiving and automatically creates that warm Hollywood vibe to give photos a cinematic feel.

I wanted to share a few samples photos so you can get an idea of what to expect with this film. For these photos, I used a LomoApparat 35 mm film camera and I find it to be the perfect combination. The LomoApparat is a ridiculously fun camera by Lomography that has tons of filters and options for making your photos creative and unique. It’s not the sharpest camera in the land though, so combining it with a faster film like Kodak Gold 200 gives your photos a bit more clarity. I have a YouTube video about the LomoApparat here! Also, keep in mind that your film lab can have a huge impact on how your final results turn out. Oftentimes, you can work with your lab to make sure you get scans that you love. You can tell them whether you want more warmth or less warmth. How you want the blues to look. Whether you want the shadows lifted. I scan all of my own film with an Epson V750 so I have a lot of control over my images. I typically try to do a pretty straight scan first though, and then I’ll adjust color tones in post-processing. I find that this gives me the most control. Plus, I know I’ve saved thousands of dollars in the long run by scanning my own film. I just ask my lab to “process only” and they mail me the negatives. I cut them and scan them myself, then store them away in film storage binders labeled by year. I definitely have a system down at this point and it gives my OCD brain so much satisfaction.

Luckily, because it’s so affordable, it’s not a huge risk to just try it out! You can pick up Kodak Gold in 35 mm or 120 formats. You can also check out my blog posts about my Top 5 Favorite 35 mm Color Films or 5 Unique Films to Try to Make Your Photos More Interesting if you’re looking for other fun film options to try out. :) Or you can stop by my Amazon storefront for more camera/film recommendations. :)

Thanks so much for stopping by! Feel free to leave any questions/comments below!

<3 Myles Katherine

WHERE TO BUY

Kodak Gold 200 35mm Film

Amazon

Adorama

Kodak Gold 200 120 Film

Adorama

(By using the links and/or codes in this post it supports Myles Katherine Photography. We may get a small kick back by you doing so.)
(click images to enlarge)